1) Use the right size book for the right size photos. Multiple 4×6 or 5×7 photos at full size do not usually fit inside an 8×8 book.
2) When using buttons, fit to appropriate size. Coat buttons are 1 inch across. Shirt buttons are a half inch and baby buttons are a quarter of an inch. Check element size in the LAYOUT tab and a ruler.
3) Turn rulers on to check alignment, equal size borders etc. Turn them off for an overall design feel.
4) Alphabets are easier to find if you place only one number, one lower case, one upper case in your MY FAVORITES folder.
5) We see the finished book in spreads. Go to the VIEW/PRINT PREVIEW. Faster easier, more reliable.
6) A well designed page should work upside down or sideways. Flip things, and change them up to make a spread.
7) Change the size of elements that drop on the page at equal size. In nature, little is identical in size or rotation.
Overlap elements to make natural design groupings but make sure enough of each element shows to preserve its identity.
Go to MyStoryBookLady.com and have fun in your Studio today! ~ Betty
Thursday, August 4, 2011
Studio Tips
Posted by Betty Miller at 12:20 PM
Labels: My Storybook Lady, Studio, Tips
Subscribe to:
Post Comments (Atom)
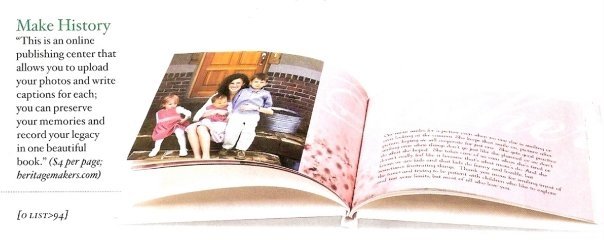
Heritage Makers is one of OPRAH'S ALL-TIME Favorite Things!

O Magazine, Dec 2008, page 94
Heritage Makers is one of OPRAH'S ALL-TIME Favorite Things!

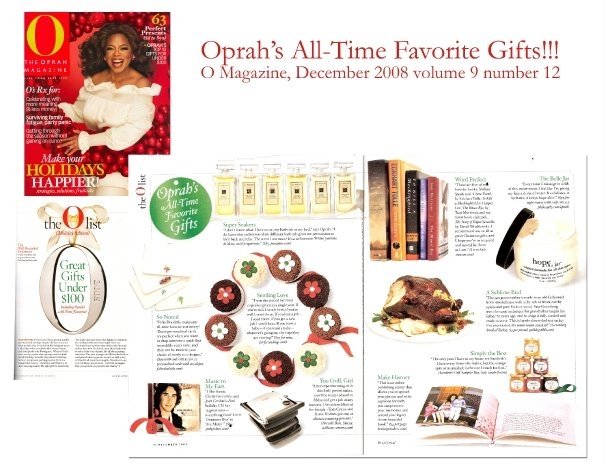
Here's the full spread...
Heritage Makers is one of OPRAH'S ALL-TIME Favorite Things!

It's an honor to be listed on the same page as her favorite books...


0 comments:
Post a Comment